The IOCore wiki server and build machine

Dell 2950, IOCore ESX server
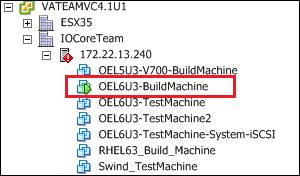
Build Machine as below, 172.22.12.212
————————————————————————————————————
IOCore XWiki server
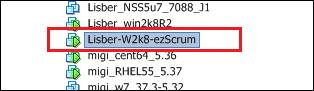
VM on team ESX server
Name: Lisber-W2k8-ezScrum
IP: 172.22.5.246
Account/Passwd: Administrator/abc=123
Wiki admin's account/passwd: Admin/iocore102 (case sensitive)
XWiki folder located at
C:\XWiki\xwiki_3.5.1
IOCore training video located at
C:\XWiki_Ftp\IOCore_Training_Record
————————————————————————————————————
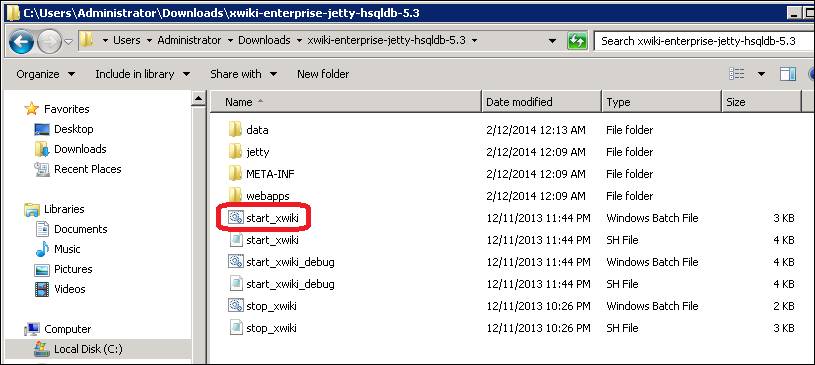
Start XWiki service
Execute start_xwiki to start xwiki service as the picture below.
The XWiki version we used is jetty, that means we didn't need to setup mysql/apache …, we just need to execute the batch file.
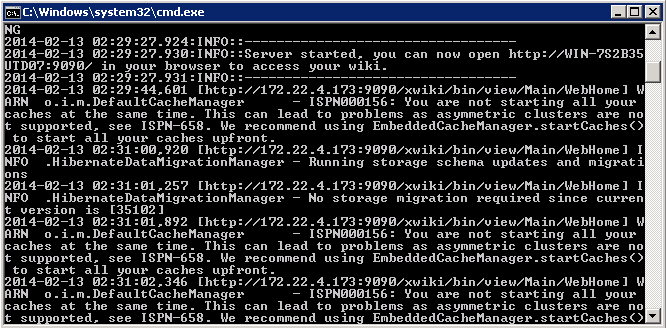
Note:
After executing the batch, if you see the messages as "You are not starting all your caches at the same time. This can lead to problems as asymmetric clusters are not supported, see ISPN-658. ……"
Just ignore it and wait for a while.
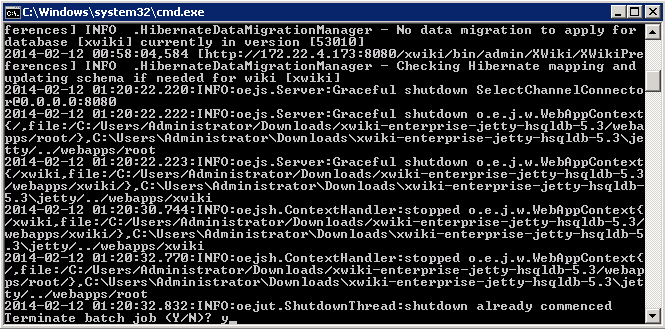
Stop XWiki service
Ctrl + c in the batch window.
It will show the message as "Terminate batch job <Y/N>?"
Export XWiki package
There are two ways to export data,
1. Enter the url below after login
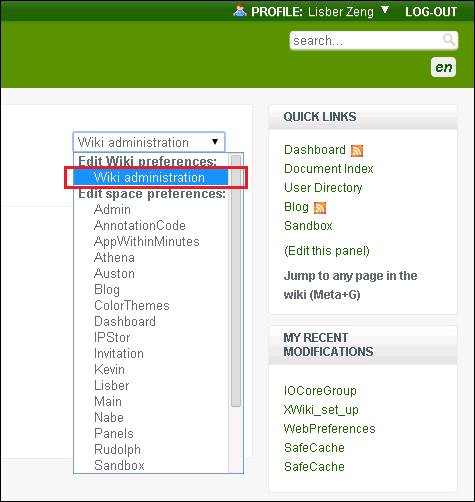
2.Export thru GUI
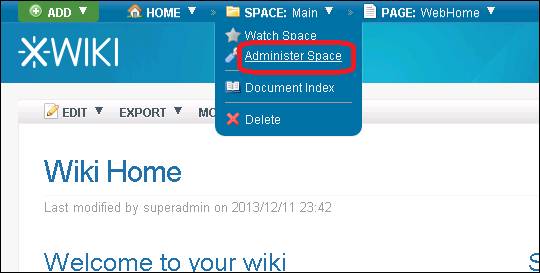
Administr Space

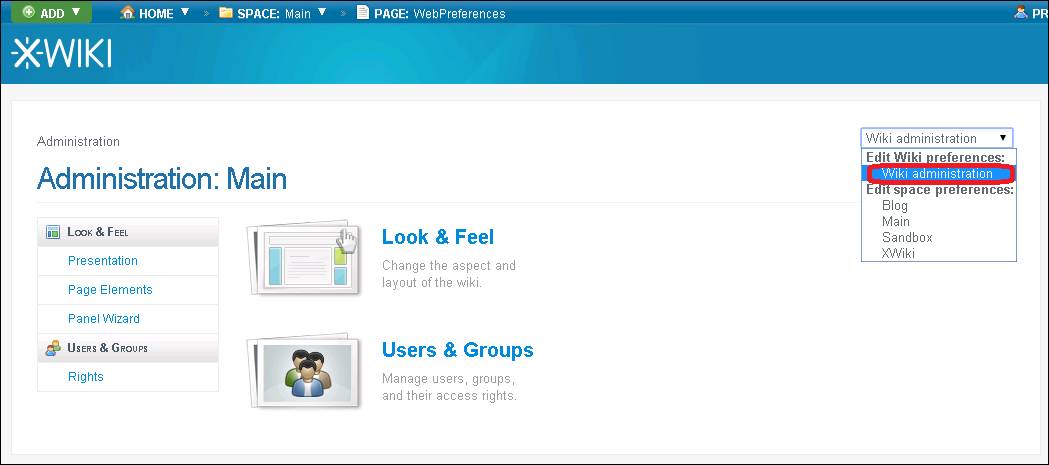
Wiki administration
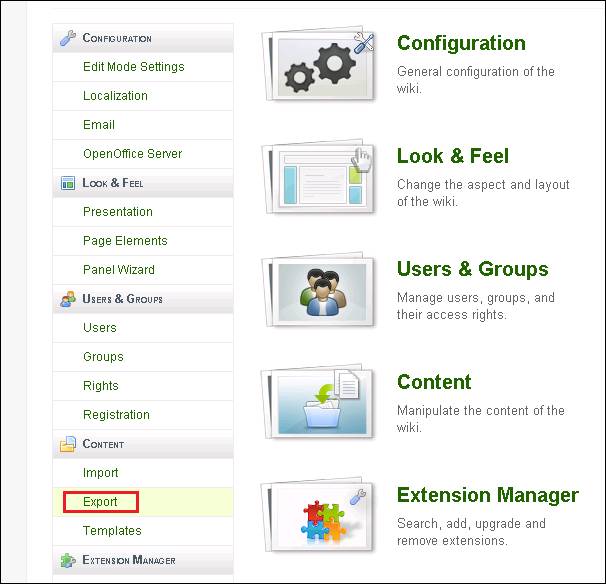
Export
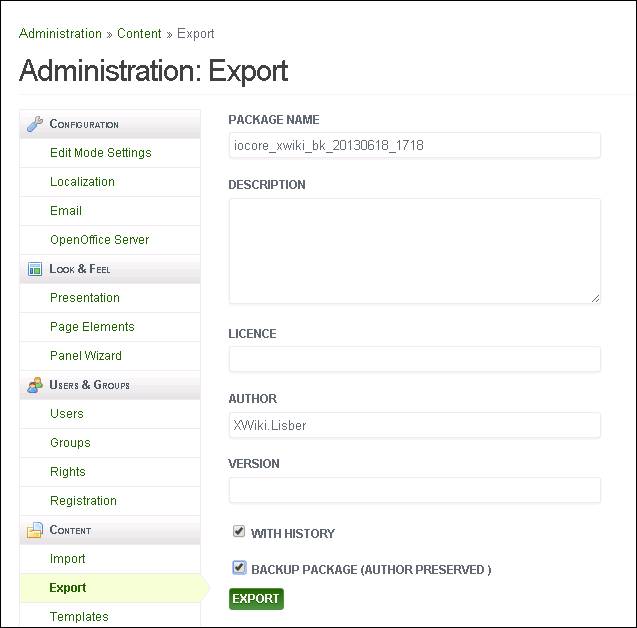
Fill related fields
Import XWiki package
There are two ways to import package
1. Copy entire XWiki folder
Copy the zip file "xwiki_3.5.1_entire_folder_backup_20140212.zip" in the external disk. Extract it and execute the batch file "start_xwiki" to start the service.
2. Import thru GUI
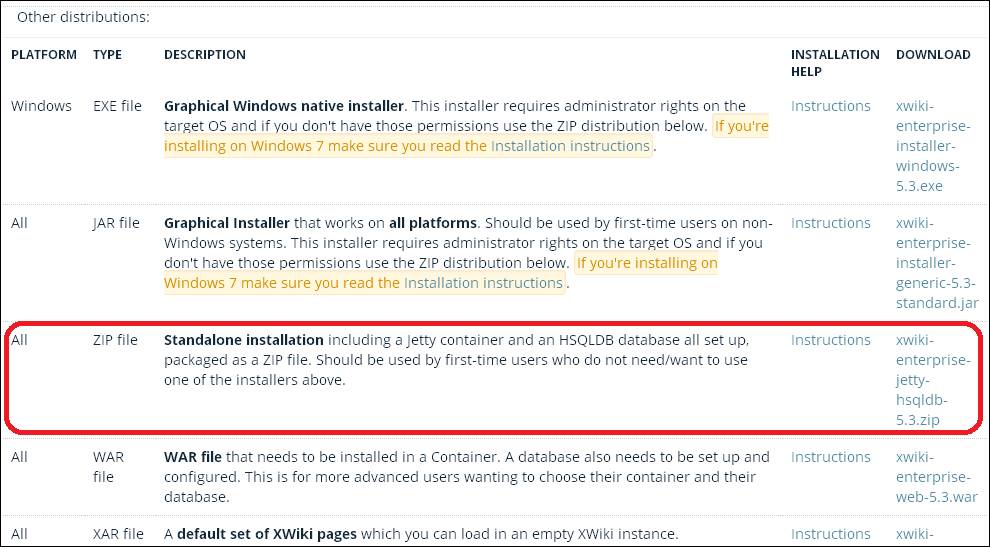
2.1 Get the XWiki with Jetty verion
Download XWiki thru http://enterprise.xwiki.org/xwiki/bin/view/Main/Download OR get order version thru http://forge.ow2.org/project/showfiles.php?group_id=170
Choose the zip file/Jetty verion to download, extract it, and start the service.
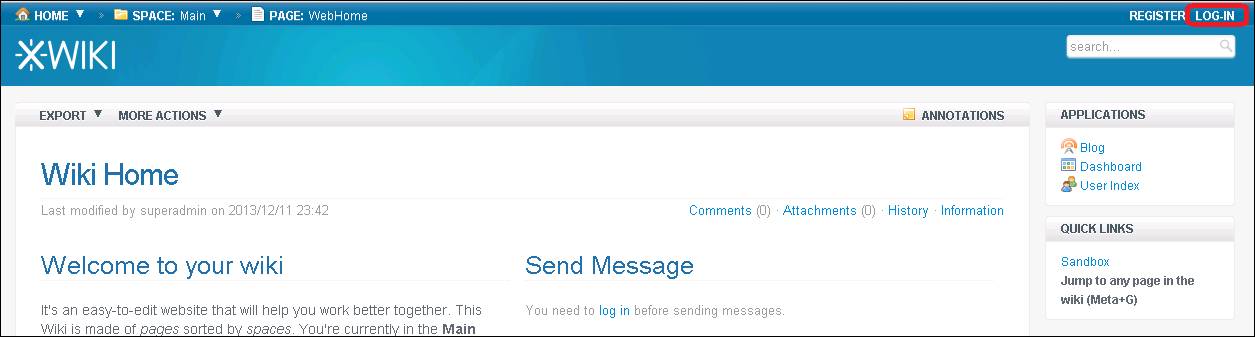
2.2 Login XWiki with default account/passwd
Default account/passwd is Admin/admin (case sensitive)
2.3 Import thru GUI
Administer Space
Wiki administration
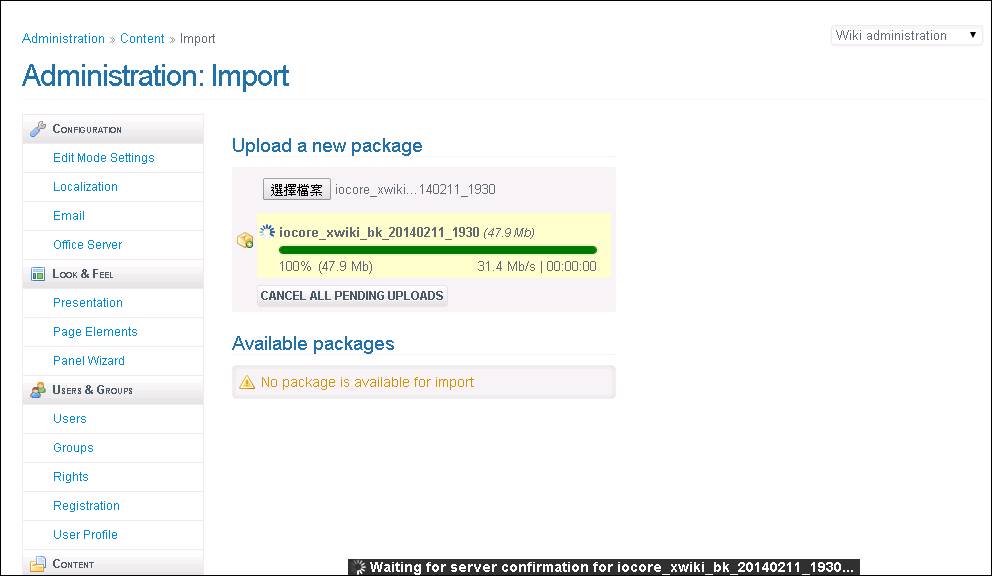
Import
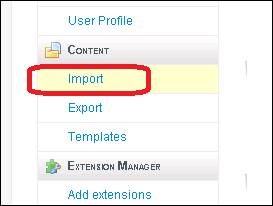
Choose the backup package and upload to import.
Note:
The default upload size is 32MB, the setting can be modified as below.
Change the url to "…/ edit/XWiki/XWikiPreferences?editor=object".
Choose XWiki.XWikiPreferences
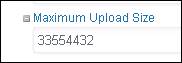
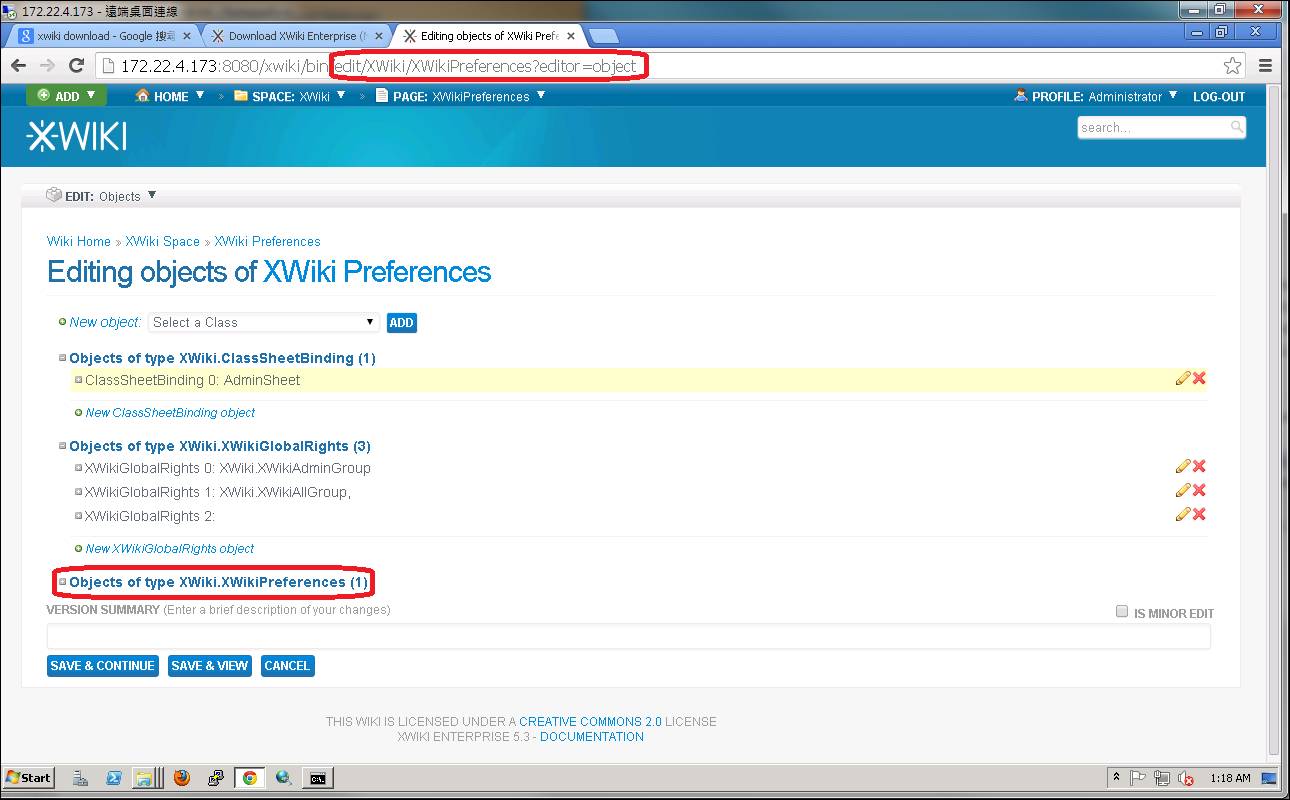 Modify "Maximum Upload Size"
Note:
1. The attachment is a batch file I used to backup wiki automatically. If there is a need to refer, there are comments with "rem …".
2. We need the passwd "iocore102" to extract the zip backup files in external disk.
/content/images/wordpress/iocore_xwiki_backup_script.zip
Lisber