configuration

blog

How to migrate Raspberry Pi 5 OS from micro SD to NVME m.2 SSD

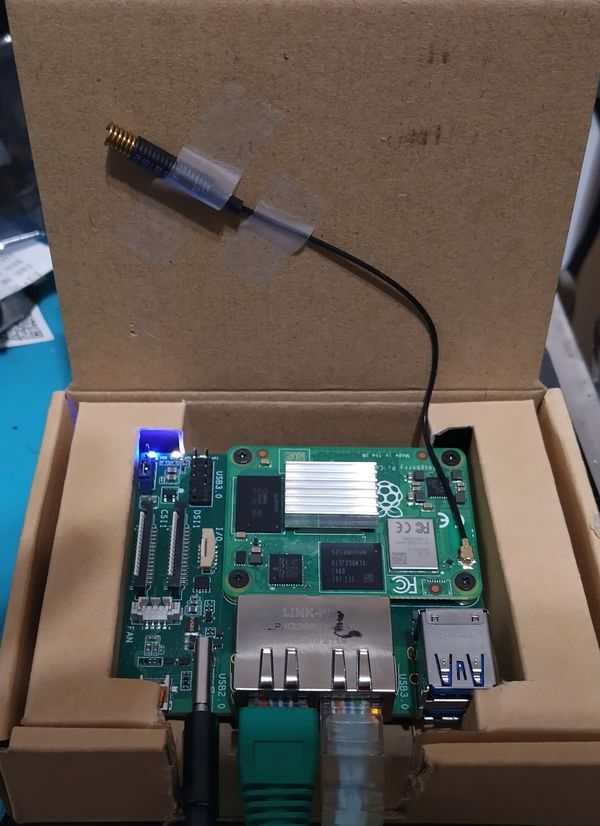
首先我買了Raspberry Pi CM5後來買了Raspberry Pi CM5 I/O board來當個人電腦使用,系統是安裝在256GB SD卡上運行的很好。用久了在開啟較肥的程式像Web Browser或LiberOffice會有慢半拍的反應,而有了升級NVME m.2 SSD念頭。 因為Raspberry Pi 5支援的最快PCIe gen3 x 4就不去考慮快的Gen4 or Gen5 m.2 SSD。找了ADATA出的 LEGEND 710入門級的產品,會利用HMB(Host Memory Buffer)來加速I/O速度,因為是Raspberry Pi OS kernel會認不得而無法正常使用 事先在SD卡的/boot/firmware/cmdline.txt 加入 kernel command line參數如下,然後重開機m.

By Phillips Hsieh

Linux

如何在Raspberry Pi4上安裝Proxmox for ARM64

第一步 準備好Raspberry Pi 4 / CM4 4GB RAM,這裡要留意CM4如果是買有內建eMMC storage會限制不能使用SD卡開機而限制本地空間容量,如果沒有NAS外接空間或使用USB開機的話,建議買CM4 Lite插上大容量SD卡 第二步 去Armbian官網下載最小化Debian bookworm image https://www.armbian.com/rpi4b/ Armbian 25.2.2 Bookworm Minimal / IOT 然後寫入SD/USB開機碟,寫入方法參考官方文件 https://github.com/raspberrypi/usbboot/blob/master/Readme.md Note: 官方提供的預先設定系統方法,可以在Armbian初次啟動自動化完成系統設定。連結在此 https://docs.armbian.com/User-Guide_Autoconfig/

By Phillips Hsieh

configuration

Container and docker and Hypervisor

在玩容器虛擬化前,先建立何謂容器的觀念,不同於虛疑主機系統消耗的資源會少非常多。 LXC  使用者空間控制核心命名空間合併cgroup功能創建的應用容器 ‌‌使用上類似:‌‌* Feels like somewhere between a chroot and a VM‌‌* Can run a full distro using the "host" kernel‌‌* Processes running in a container are visible from the outside‌‌* Doesn't require any specific hardware, works on all supported architecutres 實作上我選擇安裝Proxmox原因是滿多介紹HomeLab的youtuber就有提到它。比較類似的平台有VMware

By Phillips Hsieh

configuration

Ubuntu Linux 使用 apt-get 指令移除軟體並清理遺留的垃圾

在 Ubuntu 下移除某個軟體套件,使用的指令是 apt-get remove,例如:     sudo apt-get remove texlive-full 但由於先前安裝此套件,會一併自動安裝相依套件(dependencies),所以需要再用 autoremove 清理。     sudo apt-get autoremove 或是在 remove 時加參數:     sudo apt-get remove –auto-remove 但是這樣還不夠乾淨,因為預設的 remove 行為,會保留一些設定檔之類的遺物。所以需要用 purge 的方式移除。針對單一套件使用 purge 方式徹底移除:     sudo apt-get purge texlive-full 或     sudo apt-get remove –purge texlive-full 在使用 autoremove

By ipstor